Time Zone Settings for Dialers
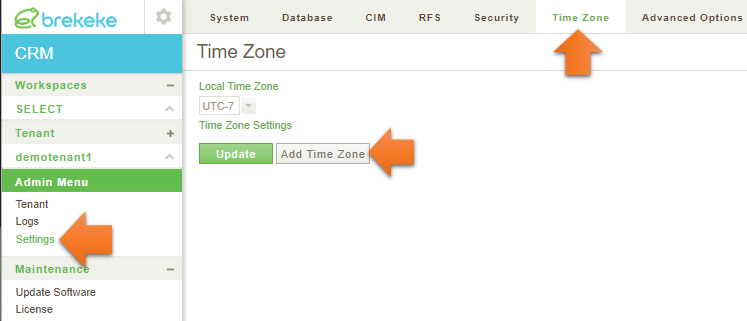
Step 1. Create a new time zone entry.
On CRM, move to the [Admin Menu] > [Settings] > [Time Zone] page. Then click the [Add Time Zone] button.
Step 2. Select time zone (UTC -/+ N) and set some area codes.
Here, as an example, two time zone entries, EST (UTC-5) and PDT (UTC-8), are created. Some area codes are added to each time zone.
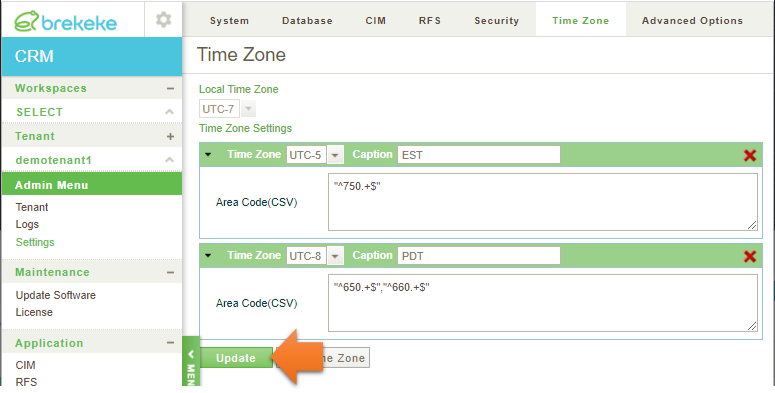
Click the [Update] button to save them.
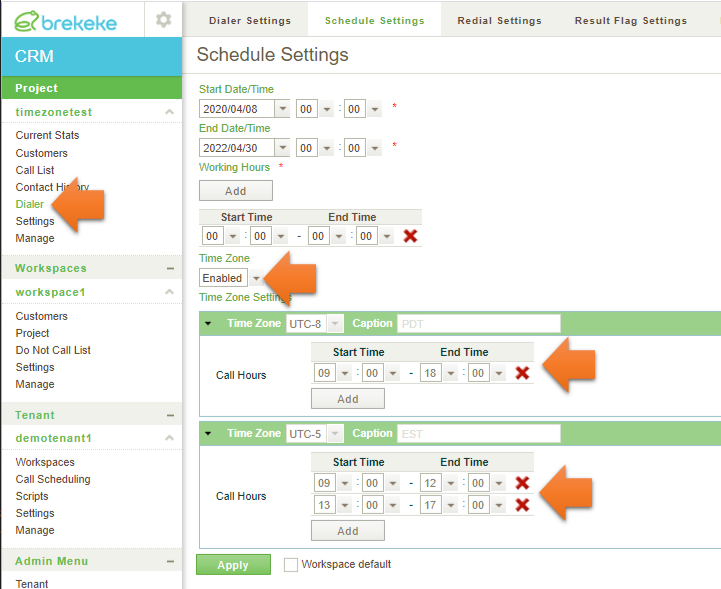
Step 3. Set call hours at dialer’s [Schedule Settings] page.
Move to the project menu > [Dialer] > [Schedule Setting] page. Choose “Enabled” at the [Time Zone] select box. Then add call hours on each time zone.
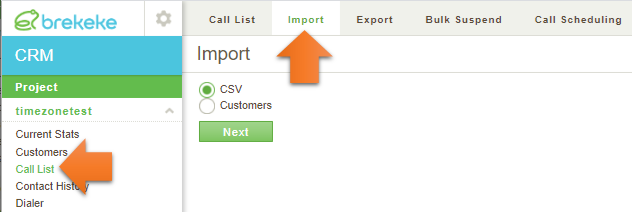
Step 4. Import call items to a call list
Call items can be imported at the project menu > [Call List] > [Import].
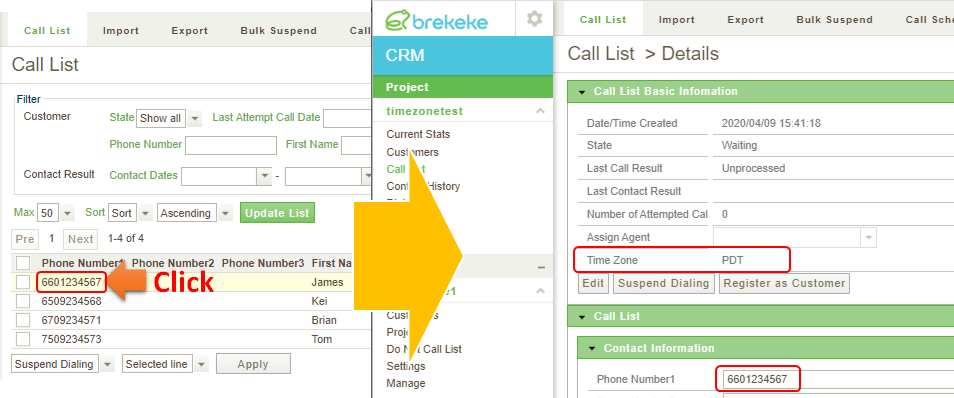
Here is an example of imported call items into the call list.

In this example, if a dialer is active and in dialer’s working hours,
6601234567 will be dialed in call hours of PDT.
6509234568 will be dialed in call hours of PDT.
6709234571 will be dialed in call hours of local time zone (Working hours of a dialer).
7509234573 will be dialed in call hours of EST.
※1. Time zone of each call item is defined when the data is imported into the call list (at step 4).
※2. The time zone set at each call item can be confirmed at [Call List] > [Details] page.