
Confirmed model
Snom360, Snom 7xx, Snom820, Snom870
Set up Snom phones
Set up your Snom Phone to make it accessible from your PC
Please refer to the link below about snom phone manuals
http://wiki.snom.com/IP-Phones
Network Configuration
Once you can connect to Snom phones from web browser, setup phone with a static IP address
- Click on [Setup]>[Advanced]
- Use the following steps as an example to complete the network setup.
- [DHCP:] off
- [IP Address:] 192.168.0.93(ex)
- [Netmask:] 255.255.255.0(ex)
- Click on [Save] button
Brekeke SIP Server Setting
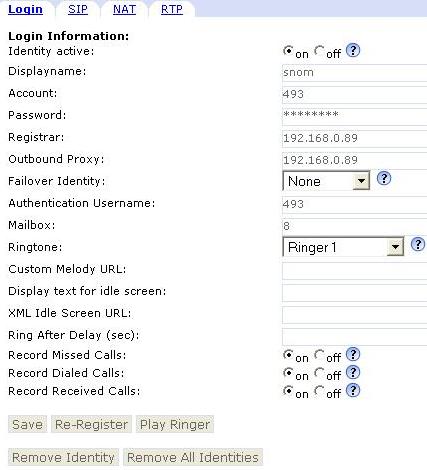
The Identities under [Setup] menu are the places to set phones lines and SIP server address.
Choose [Identity 1] as an example:
- At [Login] tab
- [Identity active:] on
- [Displayname:] 493
- [Registrar:] Brekeke product IP
- At tags [SIP],[NAT], and [RTP], select and fill in as your network required
- For [DTMF via SIP INFO] setting, choose either “SIP INFO only” or “off” (for RFC2833)
- Click [Save] button.
- Click [Re-Register] button or restart phone to register to Brekeke SIP Server
Brekeke SIP Server’s Registration Page
Click the [Registered Clients] tab of Brekeke SIP Server admintool.

Snom Phone is registered with Brekeke SIP Server.
Related Links: