UC Chatbot Module Settings
Here as an use case of “UC Chatbot” module, introduce to create the simple flow that behaves a chatbot.
Note: the “UC Chatbot” features are provided as the beta release. They will be implemented as the standard release in the future.
Setup:
On Brekeke PBX
Step 1. Log in Brekeke PBX Web admin tool. Go to the [PBX] > [Flow Designer] page and create a new flow “uc-chat-bot”.
Step 2. Open “UC Chatbot” folder from the menu and drag and drop the Button icon into the flow area. Then create a new module and name it as “First Question”.
Step 3. Open the “First Question” module and set the following
[Properties]
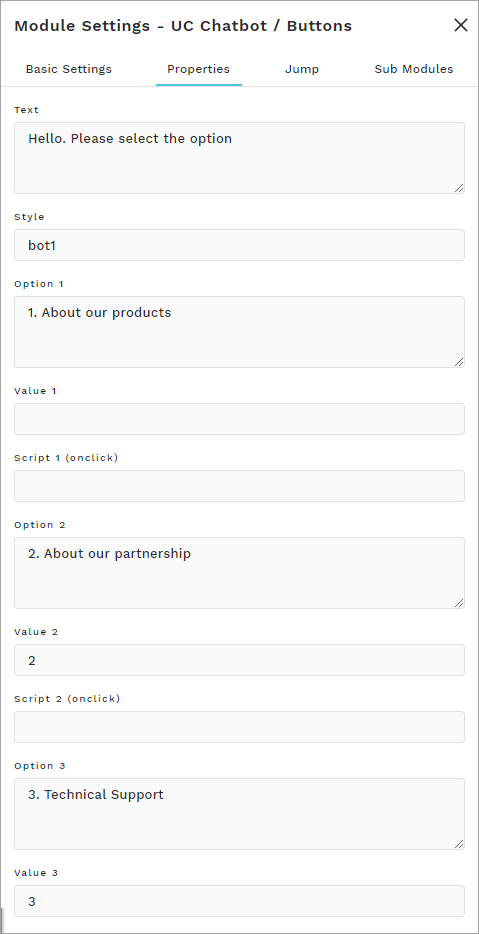
Step 4. Create three send message modules as the next target from “First Question” module.
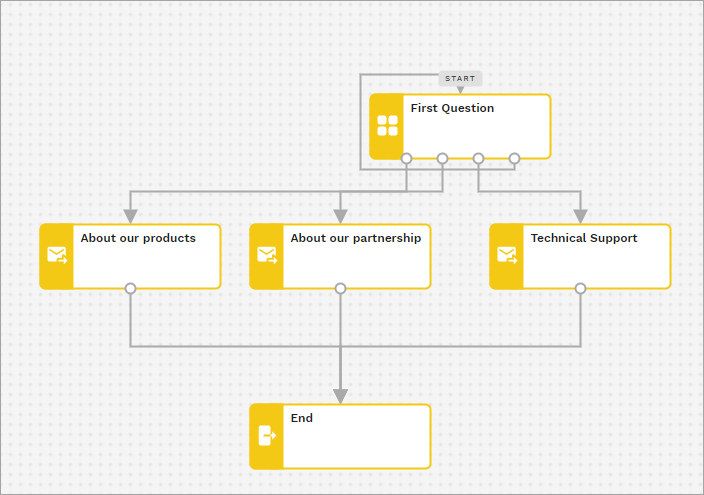
Also, to finish a chat, the “Leave” module template is used. Here the “End” module is created with the “Leve” module template.
Save the flow.
On Brekeke UC
Prerequisite:
- Webchat license option is needed on Brekeke UC.
- Webchat feature is configured beforehand.
Example of Webchat settings:

Step 1. Select the tenant settings and click a “Chatbot” text link of the tenant.

Step 2. Click the “Add a new application” button.
Step 3. Set as follows;
- Enter the application name “botapp1“
- Select “Flow” type.
- Enter the flow name “uc-chat-bot” created on Brekeke PBX beforehand.
- Enter user who is in charge of the webchat target. Here as an example, the user extension “200” that has user name “Steve” is set.
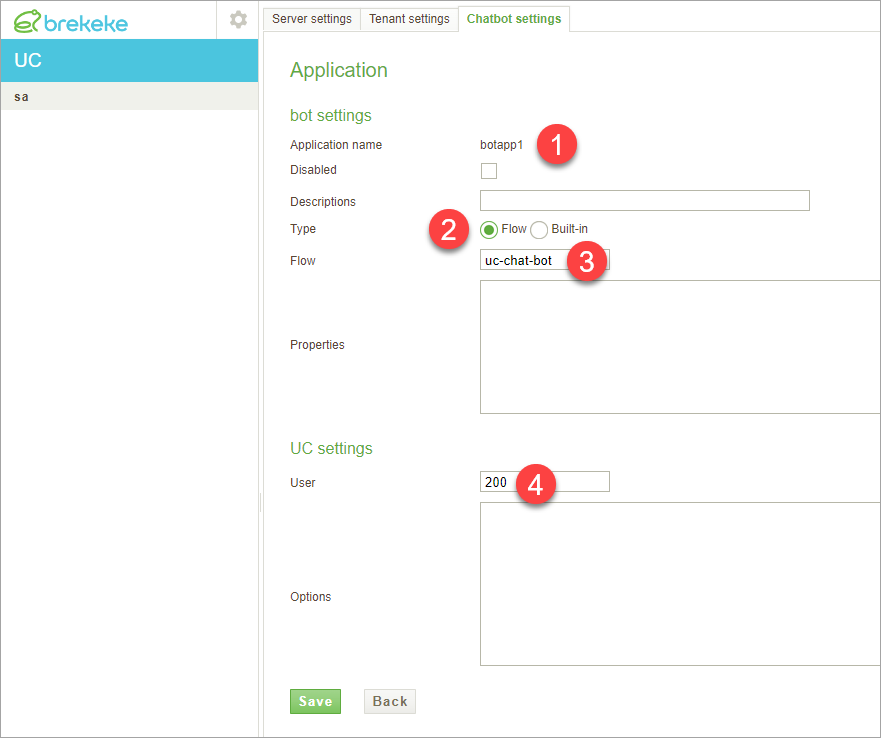
Click the [Save] button.
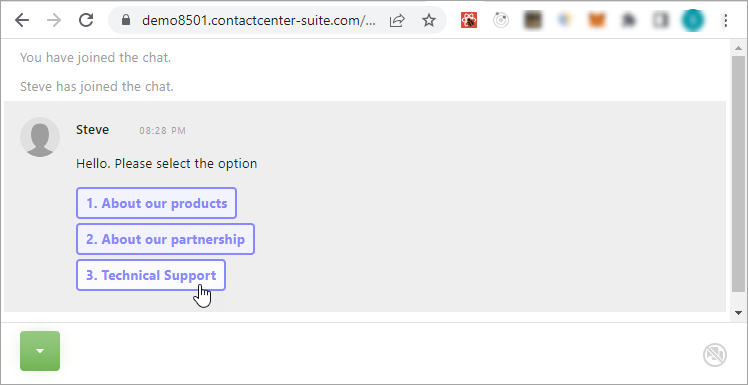
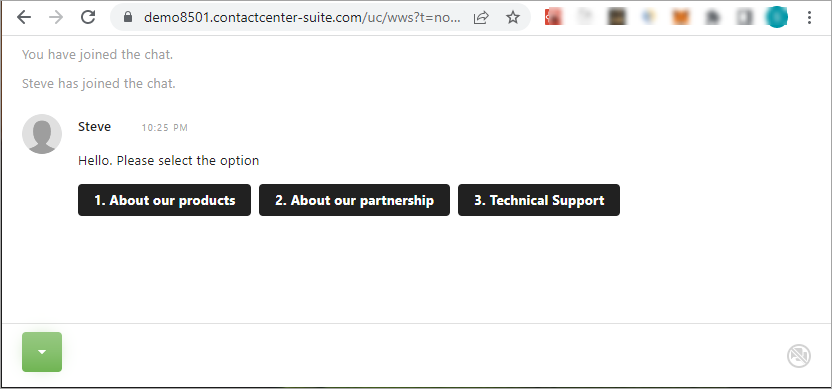
Behavior:
When someone visits the webchat that user “Steve” (extension: “200”) should answer, the created chatbot will handle the chat instead of Steve.
Using the following properties at the [Properties] field on the Step 3, styles of buttons can be changed.
*.option.style *.option.ex*.text.style *.text.ex
Example:
bot1.option.style=background-color:#F3f3FF;border:2px solid #88F;border-radius:4px;color:#88F;padding:4px 8px;margin:4px 0;max-width:400px;display:block;
bot1.option.ex=onmouseout=\"this.style.backgroundColor='#F3F3FF';\" onmouseover=\"this.style.backgroundColor='#FCFCFF';\"
bot2.text.style=font-size:x-large;font-weight:bold;color:brown;