How to Setup the bundled Web Phone (Brekeke Phone)
What’s Required?
– Brekeke PAL option (enabled on the evaluation license)
– WSS (WebSocket Secure) option
– HTTPS connection between the server and devices.
– Preconfigure WebSocket over TLS (WSS) settings at the bundled SIP server
Reference:
*Two (2) WebRTC sessions are enabled on evaluation license
Configuration:
<Administrator>
Step1. Enable PAL WebSocket
Log in Brekeke PBX admintool as system administrator (sa).
At [PBX] > [Options] > [Settings] > [PAL WebSocket], select “Yes”.
Enter client’s IP pattern at [Valid WebSocet client IP Pattern] using regular expression. (ex. 172\.16\.200\..+$)
Step2. (Multi-tenant edition only)
Enable Web Phone at each tenant.
Select a tenant you would like to add Web Phone function at [PBX] > [Tenants], and move to the [Options] > [Features].
Select “Yes” at [Web Phone].
Restart Brekeke PBX to apply these changes.
Step3. Allow users to use Web Phone
Select a extension you allow to use Web Phone at [Extensions] > [Users].
Set access user at [Settings] > [PAL WebSocket settings] > [Access users].
<Each User>
Web Phone:
Step1.Log in Brekeke PBX admintool with https connection. Select “Web Phone” at [Phones] > [Phone4] > [Type] and save it.
Step2.Click [Web Phone] from the side menu to start using Web Phone function.
Brekeke Phone:
Step1. Install Brekeke Phone application into your smartphone. The application can be downloaded from App store or Google Play.
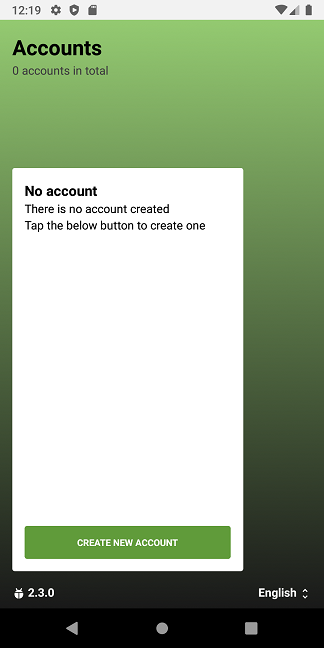
Step2. Open Brekeke Phone application. At first time, you need to enter account information. Click [CREATE NEW ACCOUNT] button.
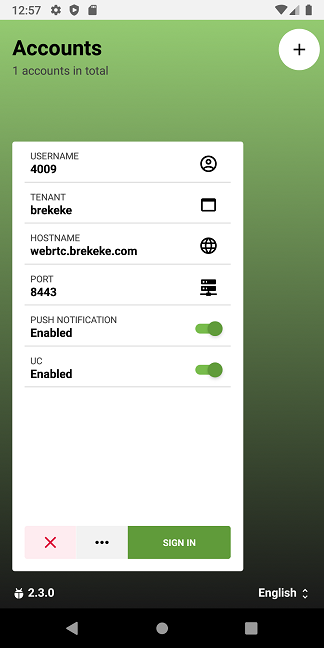
Step3. Create login Account.
| Field | Explanation |
| USERNAME | PBX User Extension. (NOT SIP user) |
| PASSWORD | PBX User’s password. (NOT SIP user’s password) |
| TENANT | Enter your tenant name. (For multi-tenant edition only) |
| HOSTNAME | PBX Server address |
| PORT | Set PAL Websocket port. Generally, this port is same as the https port (8443 or 443 in many cases).
Do NOT set SIP port. |
| PHONE | Select the Phone ID that has the “Web Phone” type.
The [Phone 4] has the “Web Phone” type by default. |
| TURN | Disabled as default. If you use a 3rd party turn server, set enable. |
| PUSH NOTIFICATION | If you use Push Notification, set enable. Push Notification setting on PBX is required. |
| UC | If you use Brekeke UC, set enable. Brekeke UC Server is required. |
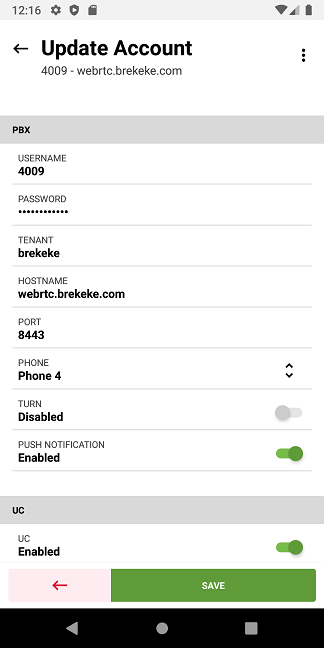
Click [SAVE] button.
Step4. Click [SIGN IN] button.